Instance
The instance tab allows configuring the instances that are available to the app. Currently, it is only possible to save instances within ElasticSPL's app context. Instances created outside of ElasticSPL's app context but shared globally are visible and editable. However, if you change the instance's sharing configuration to App, the instance will no longer be visible to ElasticSPL.
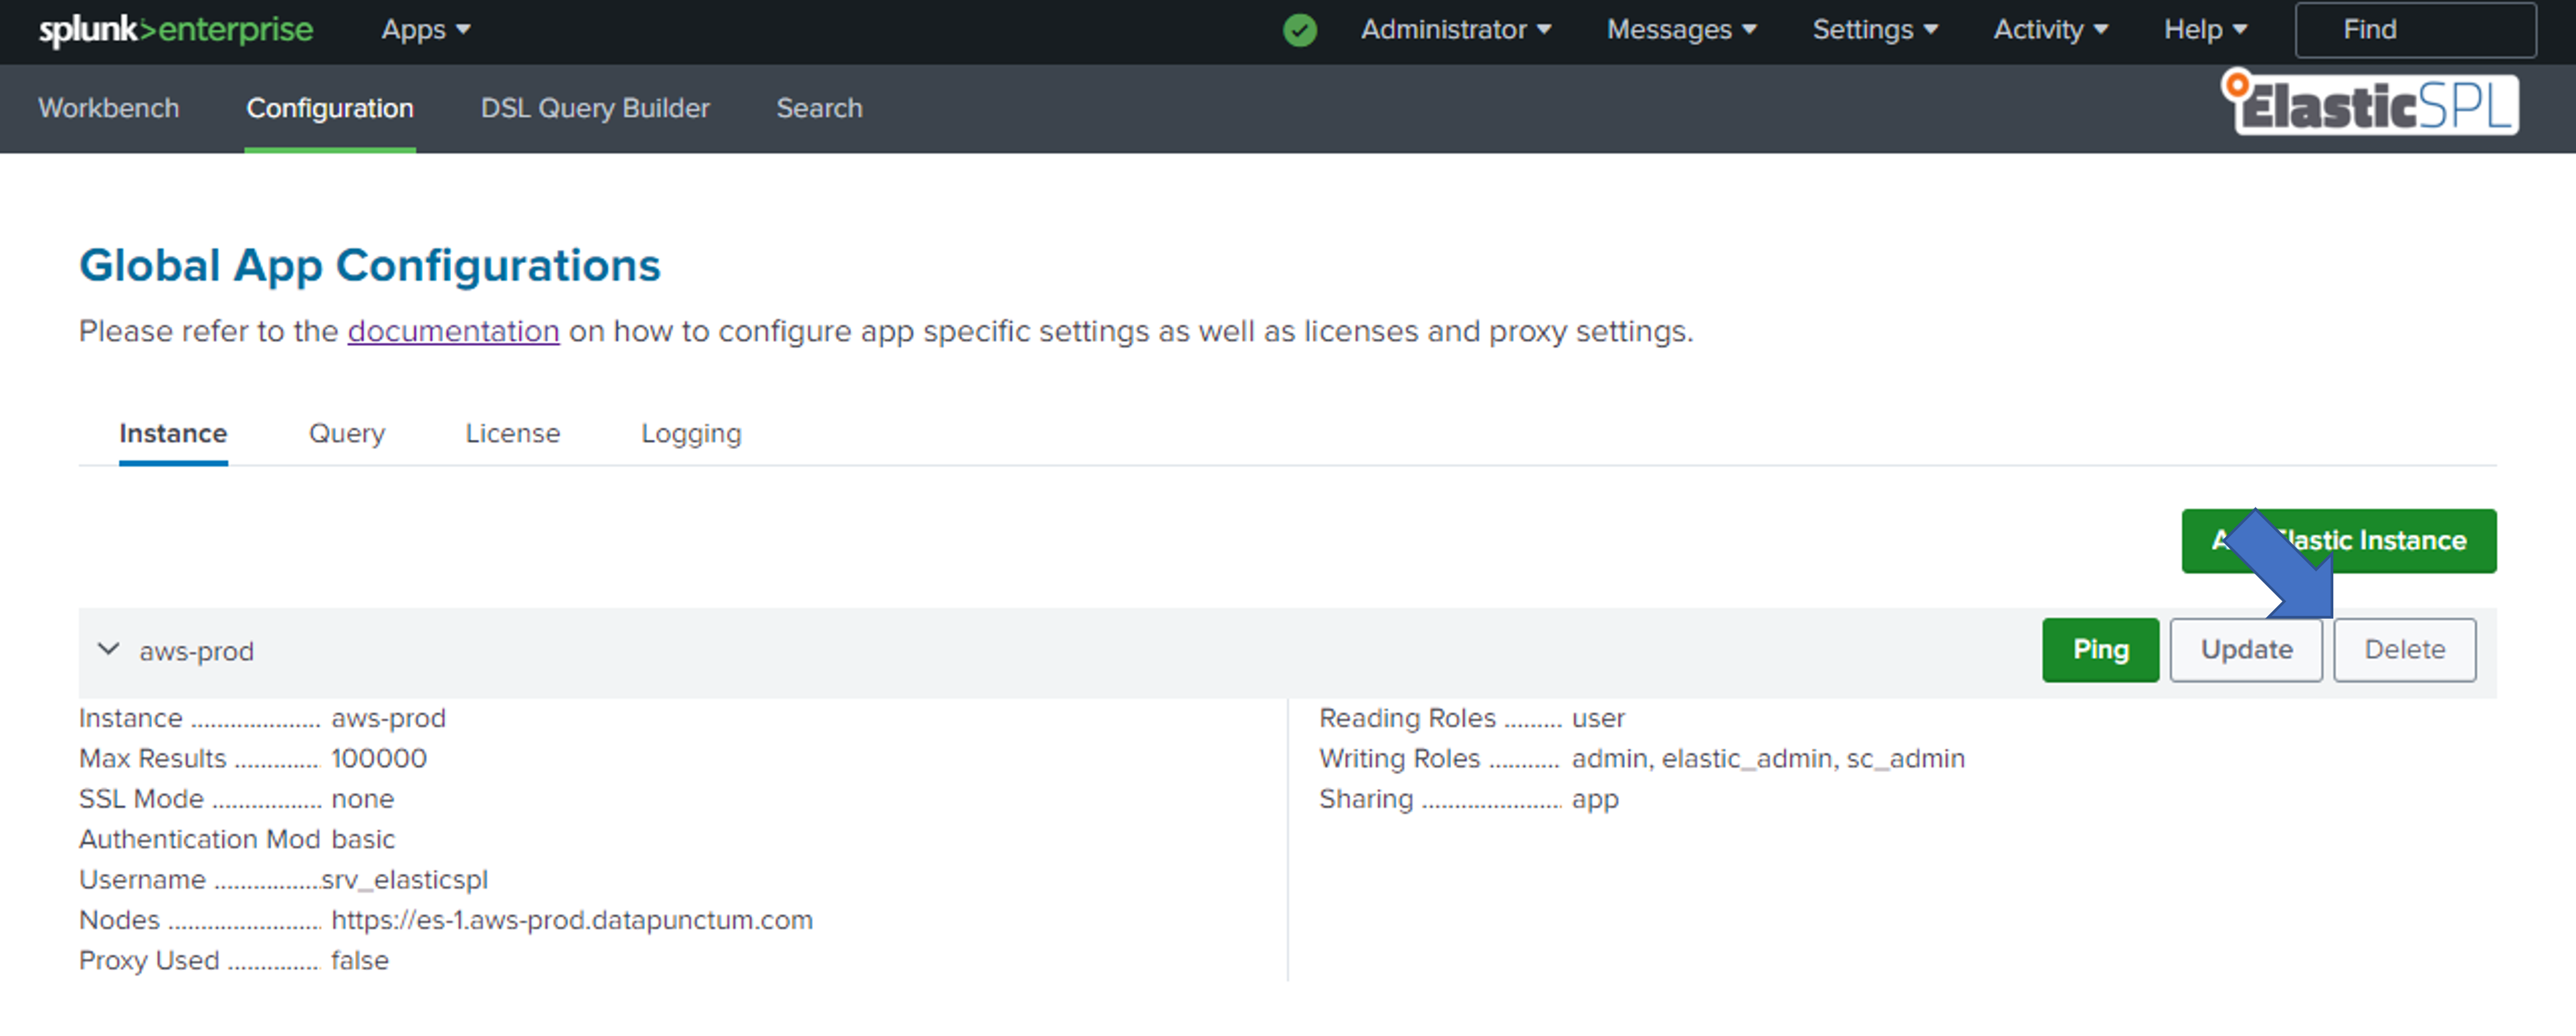
To see all parameters of an instance, extend an instance using the arrow on the left in the row of the instance. To hide the details, click the same arrow again.
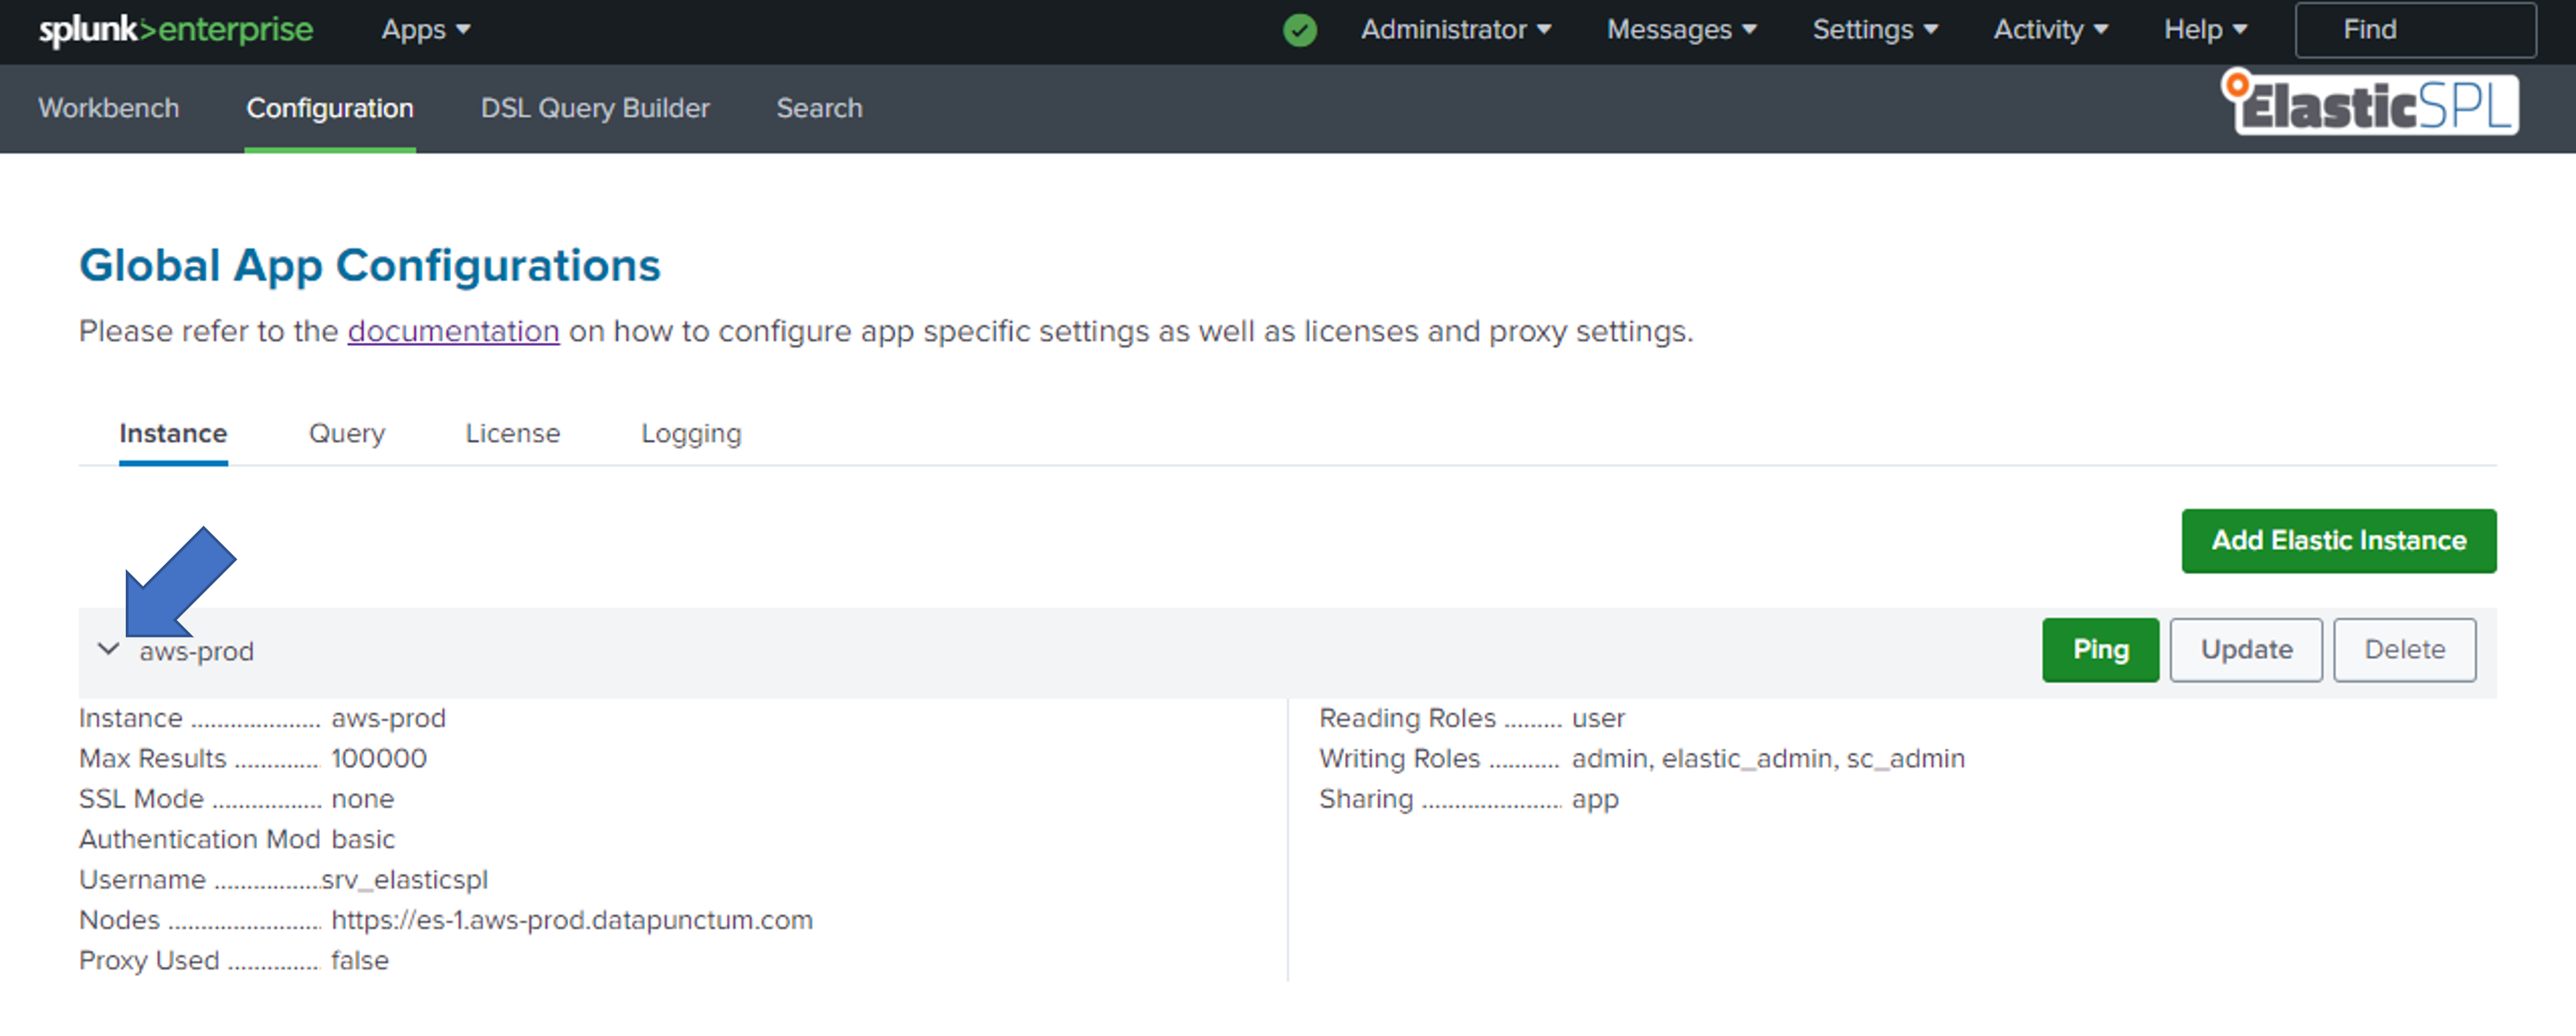
Extend to see all available instance parameters
| Parameter | Description | Required | Example |
|---|---|---|---|
| Elastic Instance | The name of the instance configuration in ElasticSPL. This can be different from the name of the Elasticsearch server or cluster | ✔️ | aws-prod |
| Max Results | The maximum number of results that should be returned by a query | ✔️ | 1000 |
| SSL Mode | Weather the certificate presented by the Elasticsearch server should be verified. If a cluster is used only CA Cert and No Validation is possible | ✔️ | CA Cert |
| CA Certificate | The CA certificate that should be used to verify the certificate presented by the Elasticsearch server | If SSL Mode == CA Cert | |
| Fingerprint | The fingerprint of the certificate presented by the Elasticsearch server | If SSL Mode == Fingerprint | 40c90360e239cb6b426164594d2118d5b3b57d6b |
| Authentication Mode | Wheter to use API Keys or Basic Authentication during the connection to Elasticsearch | ✔️ | API Key |
| API ID | API ID of the API key to be used. Make sure that the user for which the API information is valid for has access to only the required data | If Authentication Mode == API Key | |
| API Key | API Key of the API key to be used | If Authentication Mode == API Key | |
| Username | Username of a User available in Elasticsearch. Make sure that the user for which the authentication information is valid for has access to only the required data | If Authentication Mode == Basic Authentication | |
| Password | Password for the Username provided | If Authentication Mode == Basic Authentication | |
| Reading Roles | The roles that are allowed to read the instance configuration and subsequently run queries towards it | ✔️ | elasticspl_admin |
| Sharing | The sharing configuration of the instance | ✔️ | App |
| Nodes | The nodes that are part of the Elasticsearch cluster. | ✔️ | https://es1.corp.com:9200,https://es2.corp.com:9200 |
| Use Proxy | Whether a proxy should be used to connect to Elasticsearch | ✔️ | Yes |
| Verify Proxy | Whether the certificate presented by the proxy should be verified | If Use Proxy == Yes | Yes |
| Proxy CA Certificate | The CA certificate that should be used to verify the certificate presented by the proxy | If Use Proxy == Yes and Verify Proxy == Yes | |
| Proxy Url | The URL of the proxy that should be used to connect to Elasticsearch | If Use Proxy == Yes | https://proxy.corp.com:3128 |
| Proxy Username | The username that should be used to authenticate against the proxy | ||
| Proxy Password | The password that should be used to authenticate against the proxy |
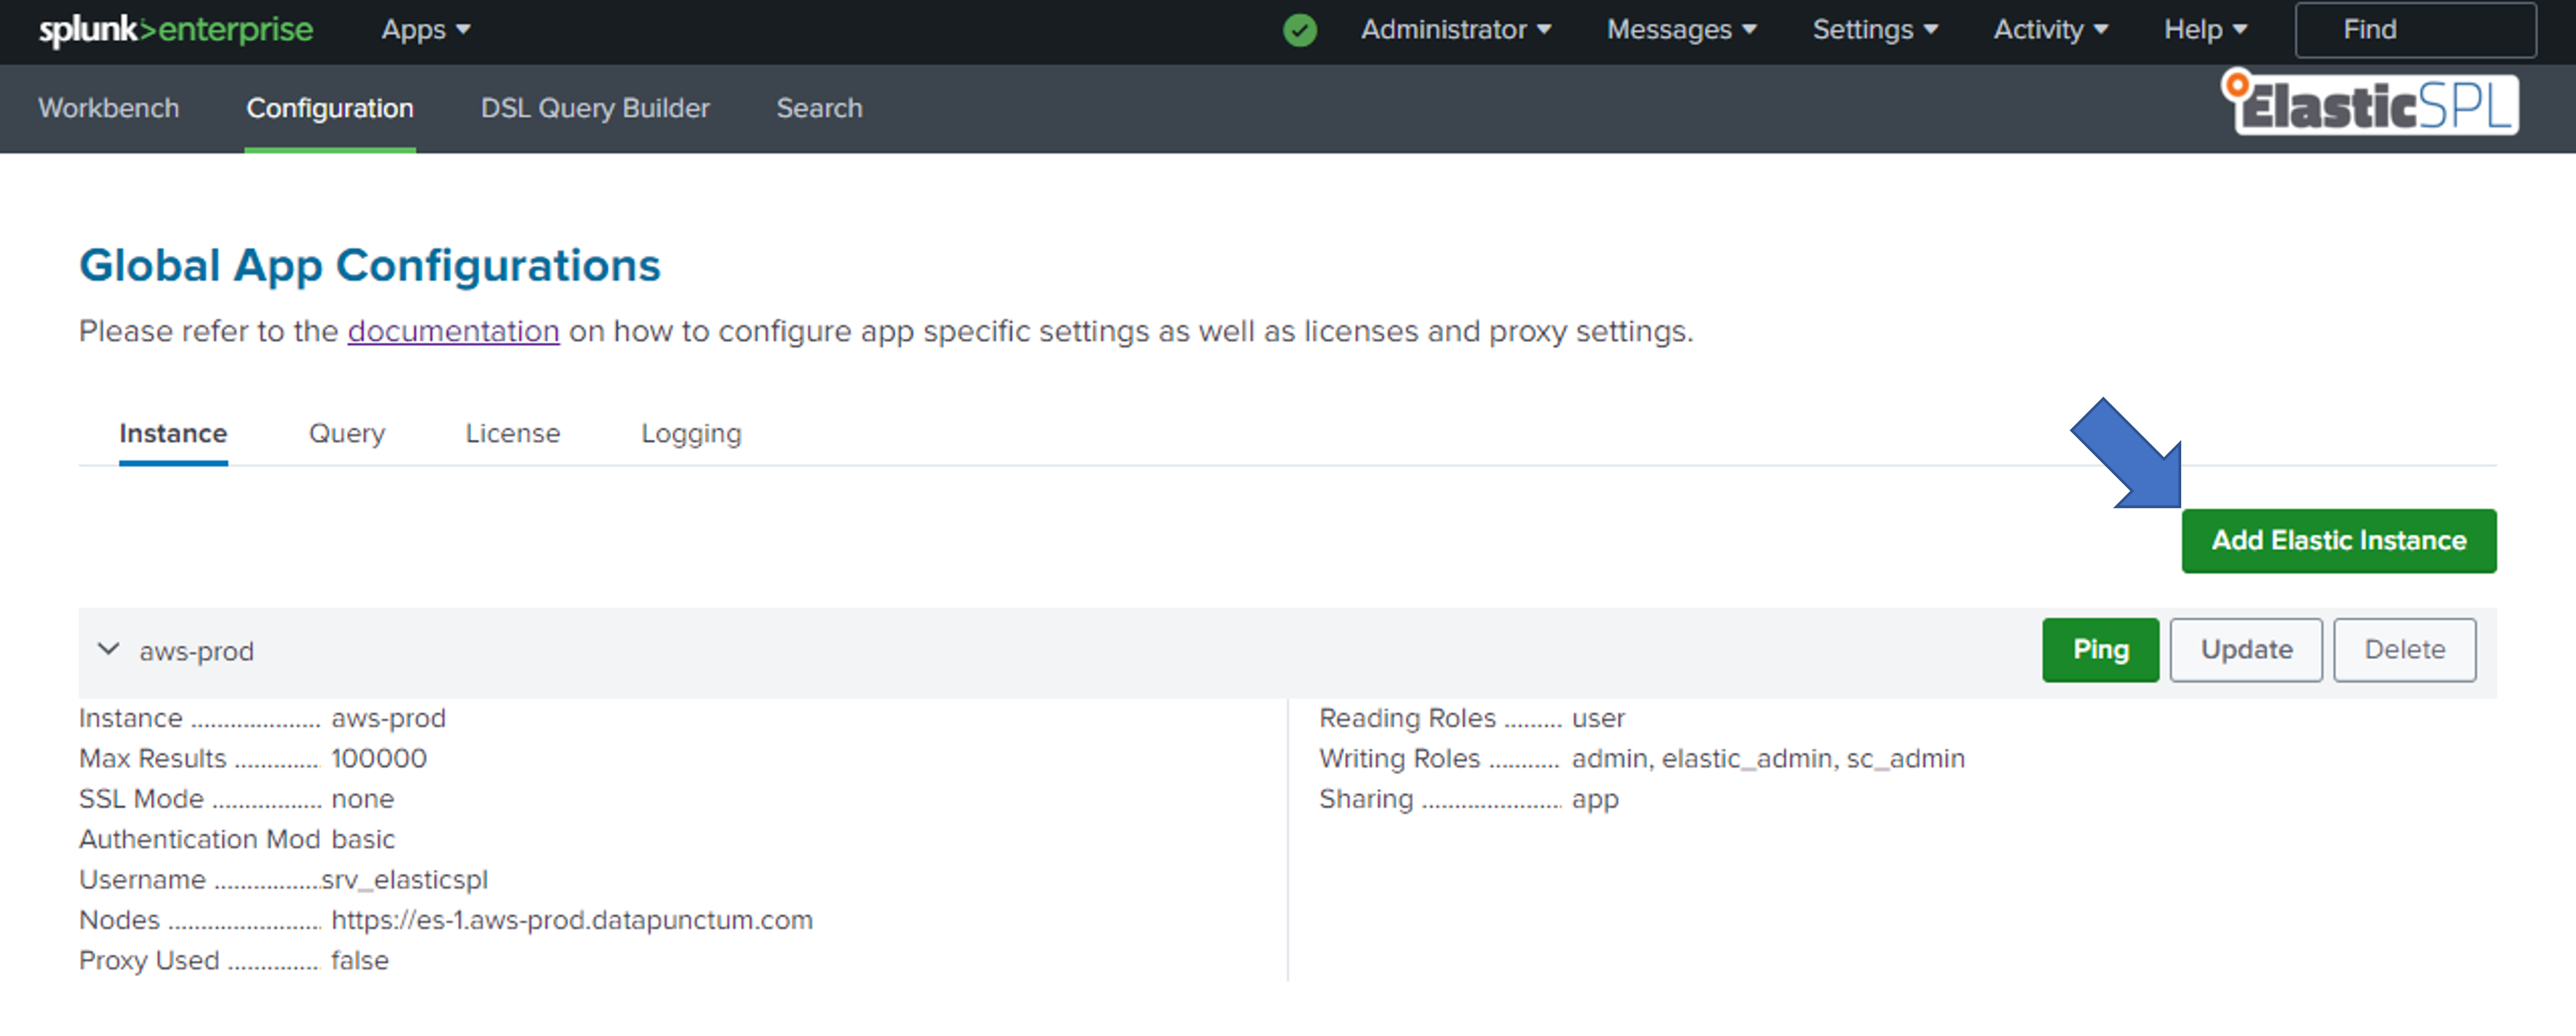
Creating an Instance
The free license of ElasticSPL allows configuring a single instance. The paid license allows configuring a higher number of instances.
To create a new instance, open the Instance tab and click on the Add Elastic Instance button in the top right corner. Fill out the form and click on Add. Check the Usage section for more information on the prefix options.
The nodes must be in format https://<hostname>:<port> and must not contain any relative URI paths.
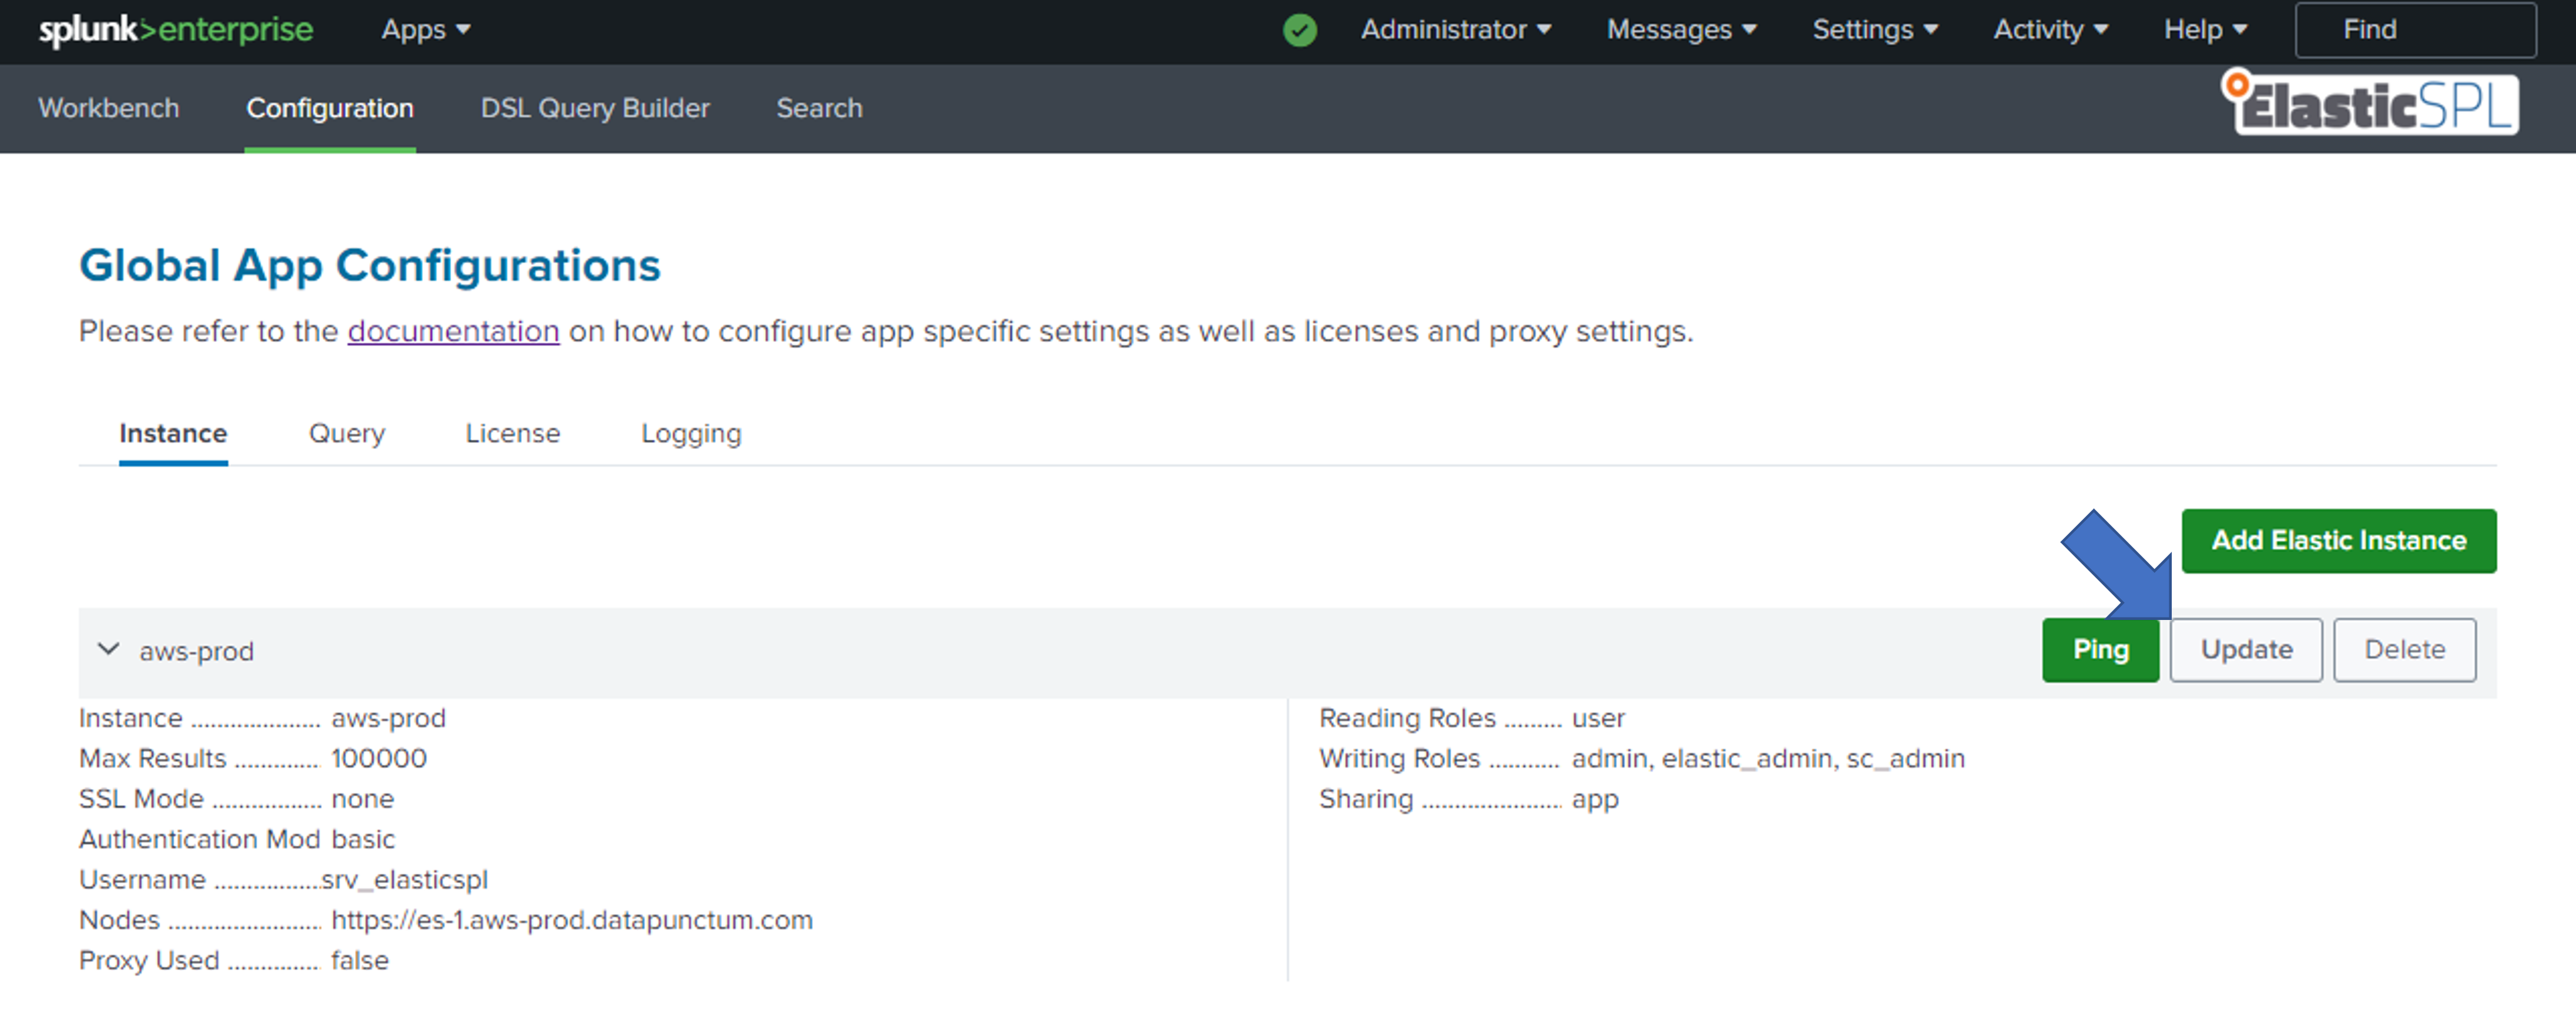
Updating an Instance
To update an instance, open the Instance tab and click on the Update button in the row of the instance that should be updated. Fill out the form and click on Update. Check the Usage section for more information on the prefix options.
It is not possible to change the name of an instance. If the name of an instance should be changed, the instance has to be deleted and a new instance with the desired name has to be created.
Deleting an Instance
To delete an instance, open the Instance tab and click on the Delete button in the row of the instance that should be deleted. Confirm the deletion by clicking on Delete.
Deleting an instance is irreversible. The instance will be deleted.
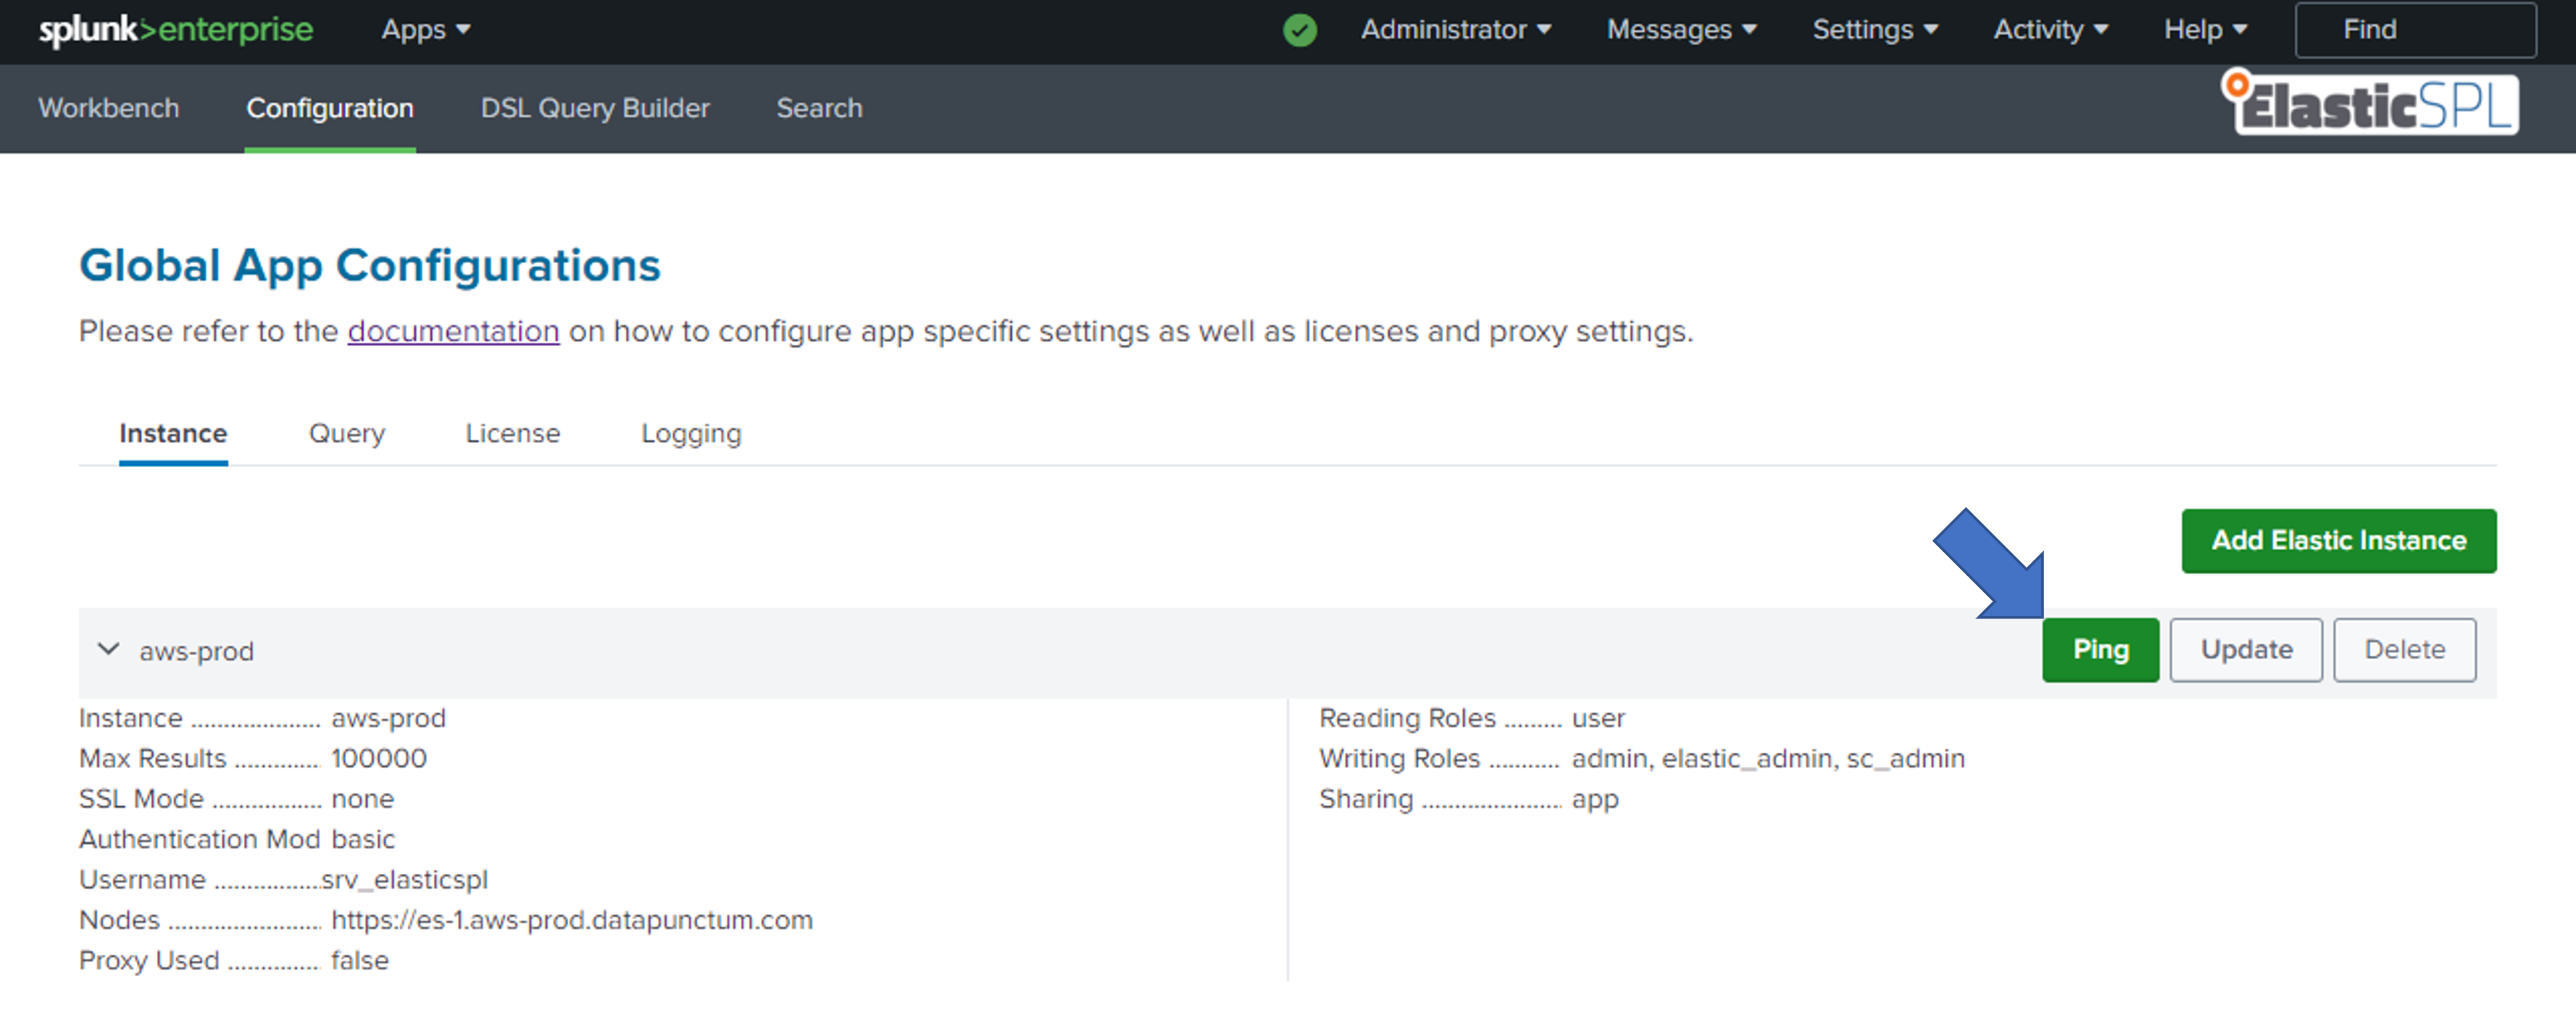
Ping an Instance
To ping an instance, open the Instance tab and click on the Ping button in the row of the instance that should be pinged. Confirm the ping by clicking on Ping. The ping will be executed and the result will be displayed in the Ping column. Pinging an instance is useful to check whether the instance is reachable and the credentials are correct.